Unlock Effortless Indulgence: The Ultimate No Bake Chocolate Cereal Bars Recipe
Craving a sweet, crunchy, and utterly satisfying treat without even thinking about turning on your oven? Look no further than this incredible no bake chocolate cereal bars recipe. These delightful creations are poised to become your new favorite snack, a go-to dessert, or the perfect grab-and-go energy bite. Imagine the rich, deep flavor of chocolate melded with the satisfying crunch of cereal, all bound together in a chewy, nutty embrace. Best of all, they come together in a flash, making them ideal for busy days, impromptu cravings, or when you simply want to enjoy a homemade treat with minimal fuss.
Forget store-bought bars laden with unknown ingredients; this homemade version puts you in control, allowing for endless customization and a healthier alternative. Whether packed in a lunchbox, enjoyed as an afternoon pick-me-up, or served as a light dessert, these no-bake wonders deliver on taste, texture, and convenience. Let's dive into how you can whip up a batch of these irresistible chocolate cereal bars today!
Crafting Your Delicious Bars: The Simple Steps
One of the true beauties of this no bake chocolate cereal bars recipe lies in its simplicity. With just a handful of staple ingredients and a few easy steps, you'll be on your way to a batch of heavenly bars. Here’s what you’ll need and how to bring them to life:
Ingredients for Your No Bake Chocolate Cereal Bars:
- ½ cup Granulated Sugar: Provides sweetness and aids in the binding process.
- ½ cup Honey: A key binder and natural sweetener, contributing to the bars' chewy texture. For those seeking alternatives, maple syrup or agave syrup work beautifully, offering a similar stickiness and subtle sweetness.
- ¾ cup Creamy Peanut Butter or Almond Butter: Adds richness, protein, and another layer of binding. Choose natural varieties for the best flavor and texture, ensuring it's well-stirred if separated.
- ¾ cup Chocolate: This is where the magic happens! You can use semi-sweet chocolate chips, chopped chocolate bars, or even dark chocolate for a more intense flavor. Quality chocolate makes a noticeable difference.
- 2 cups Corn Flakes: The classic crunchy base. Ensure they are fresh for maximum crispness.
Step-by-Step Instructions:
- Melt the Wet Ingredients: In a large, heavy-bottomed pot, combine the sugar, honey, and your chosen nut butter over medium-low heat. Stir continuously to prevent burning and ensure even melting. The goal is to warm the mixture gently until the sugar dissolves and the nut butter is smooth and fully incorporated. Avoid boiling, as this can make the bars too hard.
- Integrate the Chocolate: Once the sugar, honey, and nut butter mixture is smooth and bubbling slightly, remove the pot from the heat. Add the chocolate and stir patiently. The residual heat from the mixture will melt the chocolate into a glossy, rich sauce. Keep stirring until no streaks of chocolate remain and the mixture is uniform and shiny.
- Add the Cereal: Pour the corn flakes into the chocolate mixture. Using a spatula or a sturdy spoon, gently fold the cereal into the chocolate concoction until every flake is coated. Work quickly but carefully to avoid crushing the cereal too much, preserving that desirable crunch.
- Press and Chill: Line a baking dish (an 8x8 or 9x13 inch pan works well, depending on desired thickness) with parchment paper, leaving an overhang on the sides for easy lifting. Pour the cereal mixture into the prepared dish. Using the back of your spatula or a piece of parchment paper, press the mixture down firmly and evenly. Compactness is key here for bars that hold their shape beautifully.
- Refrigerate: Transfer the dish to the refrigerator and chill for at least 3 hours, or until completely firm. This crucial step allows the bars to set properly, making them easy to cut and handle.
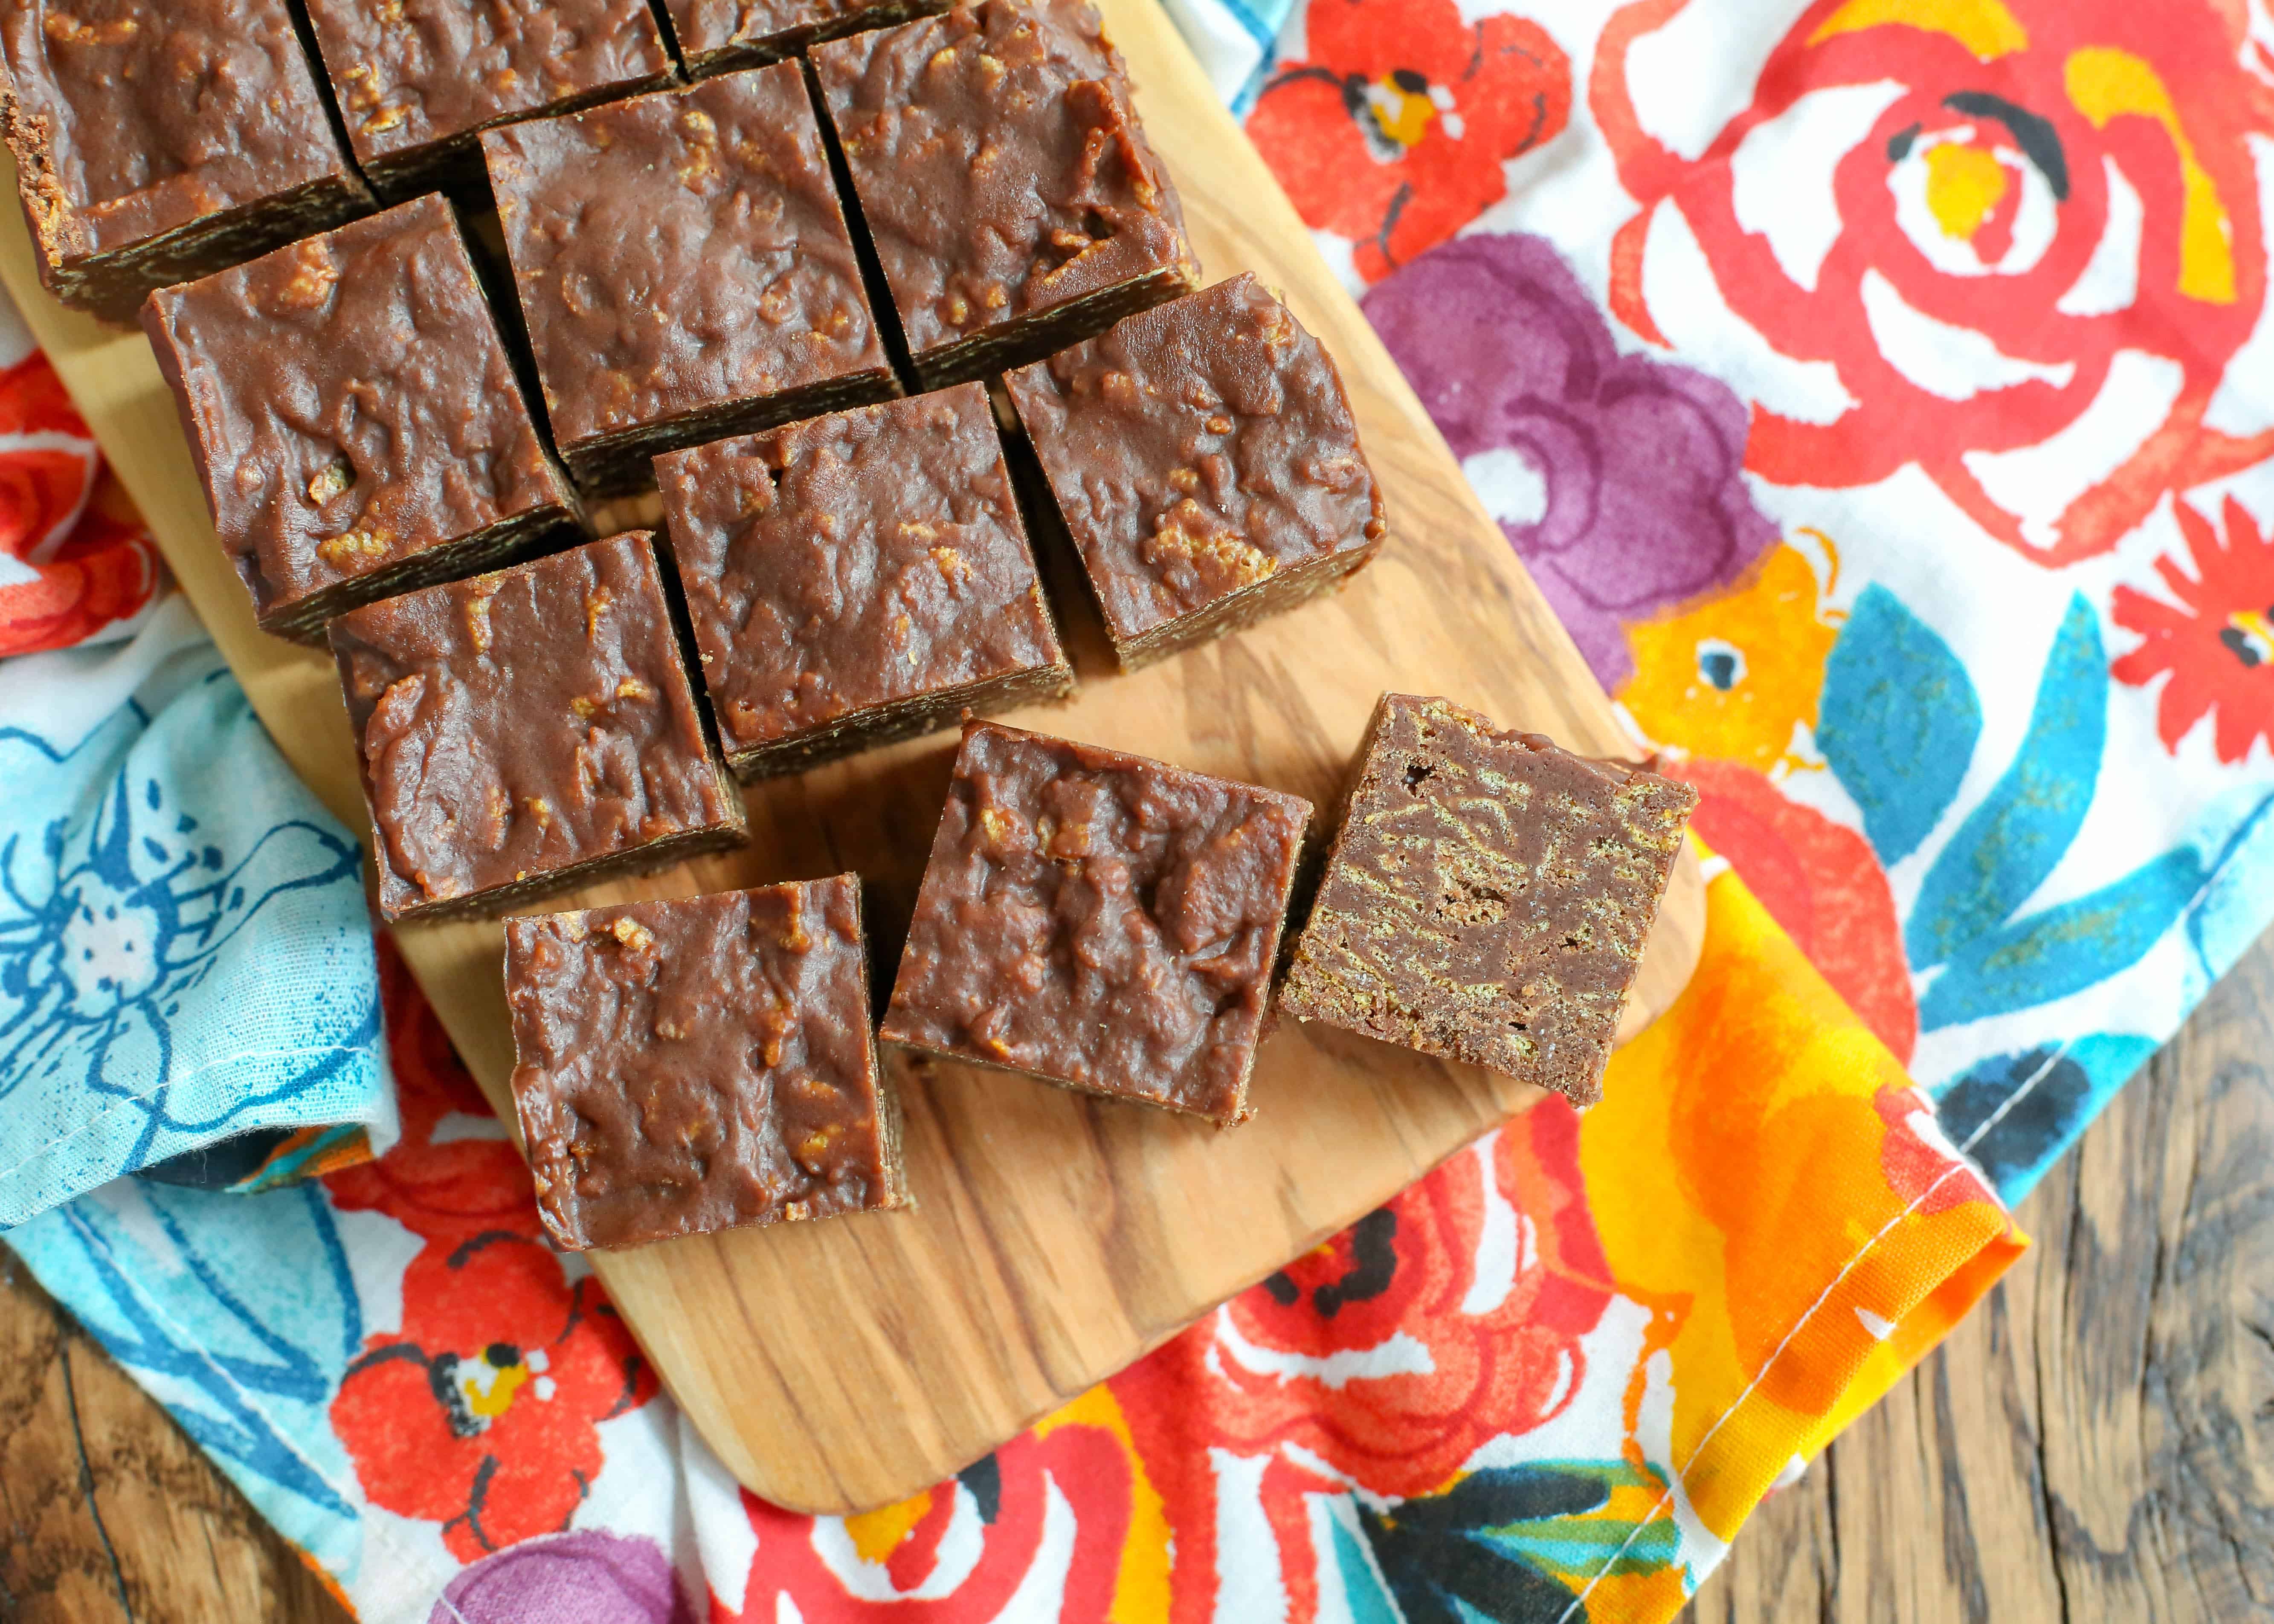
- Cut and Serve: Once chilled, lift the slab out of the pan using the parchment paper overhang. Place it on a cutting board and cut into your desired bar or cube shapes. Serve immediately or store for later enjoyment!
For even more delightful variations or a slightly different approach, explore our no bake chocolate cereal bars recipe - Article 1.
Endless Possibilities: Customizing Your No Bake Chocolate Cereal Bars
The beauty of this no bake chocolate cereal bars recipe extends far beyond its basic form. It's a fantastic canvas for creativity, allowing you to tailor flavors and textures to your heart's desire. Here are some fantastic ideas to elevate your bars:
Exciting Add-Ins:
Once your cereal is coated, but before pressing into the pan, consider folding in some extra goodies for a burst of flavor and texture:
- Extra Chocolate: Add mini chocolate chips, peanut butter chips, or white chocolate chunks for layers of chocolatey goodness.
- Nutty Delights: Chopped pistachios, pecans, walnuts, almonds, or even toasted sesame seeds bring an earthy depth and delightful crunch.
- Fruity Twists: Dried cranberries, raisins, chopped apricots, or even a sprinkle of freeze-dried berries can add a tangy counterpoint to the sweetness.
- Sweet & Salty: A sprinkle of sea salt flakes over the top before chilling enhances all the flavors and provides a sophisticated finish.
- Fun & Chewy: Mini marshmallows (fold them in right before pressing for soft pockets), shredded coconut (toasted or raw), or even chewy toffee bits.
- Spice it Up: A pinch of cinnamon, nutmeg, or even a touch of chili powder (for adventurous palates!) can add a warm, complex note.
Ingredient Substitutions for Dietary Needs & Flavor Variations:
- Cereal Alternatives: While corn flakes are classic, don't limit yourself! 'O' shaped cereals like Cheerios (regular or honey nut) are excellent as they hold their shape well and distribute evenly. Rice Krispies offer a lighter, crispier texture. Wheat biscuits (crushed), granola, or even gluten-free cereals can be used. Remember, different cereals absorb liquid differently, so you might need minor adjustments to the binder.
- Binder/Sweetener Swaps: As mentioned, maple syrup and agave syrup are fantastic honey alternatives. Brown rice syrup also works well, offering a slightly thicker consistency and often resulting in chewier bars. For a less sweet option, you could slightly reduce the sugar or use a sugar-free syrup, though this might alter the binding properties.
- Nut Butter Variety: Beyond peanut butter and almond butter, consider cashew butter for a milder flavor, sunflower seed butter for a nut-free option, or even tahini for a unique savory-sweet profile. Each will impart a different taste, so choose what complements your chosen add-ins.
- Chocolate Choices: Experiment with different types of chocolate. Milk chocolate for a sweeter, creamier bar; dark chocolate for a richer, more sophisticated treat; or white chocolate for a completely different aesthetic and flavor profile.
Pro Tips for Perfect No Bake Chocolate Cereal Bars Every Time
Achieving perfection with your no bake chocolate cereal bars recipe is easy when you keep a few expert tips in mind:
- Don't Overcook the Binder: When melting the sugar, honey, and nut butter, keep the heat on medium-low and stir constantly. Boiling the mixture for too long can cause the sugar to crystallize and make the bars too hard or crumbly once set. You want it just warm enough for everything to melt and combine smoothly.
- Quality Chocolate Matters: Using good quality chocolate not only enhances the flavor but also its melting properties. Higher cocoa content chocolates might need a moment longer to melt, but the payoff in taste is worth it.
- Gentle Mixing: When folding in the cereal, be gentle. Over-mixing or aggressive stirring can crush the flakes, leading to a less satisfying texture. The goal is to coat them, not obliterate them.
- Press Firmly: This is a critical step for bars that hold together. Use significant pressure to compact the mixture evenly into the pan. This eliminates air pockets and creates sturdy, sliceable bars. A second piece of parchment paper on top can help you press without getting sticky hands.
- Patience with Chilling: Resist the urge to cut the bars too soon. A minimum of 3 hours in the refrigerator is essential for them to set properly. If you try to cut them when they're still soft, they'll crumble and lose their shape. For cleaner cuts, use a sharp knife warmed under hot water and wiped dry between slices.
- Line Your Pan: Always line your baking dish with parchment paper, leaving an overhang. This makes removal incredibly easy and mess-free, preventing sticking and ensuring beautifully intact bars.
Storing Your Sweet Creations
One of the many advantages of this no bake chocolate cereal bars recipe is their excellent shelf life, making them perfect for meal prep or batch cooking.
- Room Temperature: If your environment is cool (below 70°F/21°C) and not too humid, these bars can be stored in an airtight container at room temperature for up to 3-4 days. This is ideal for maintaining their chewiness and preventing the chocolate from becoming too hard.
- Refrigerator: For longer storage or in warmer climates, store the bars in an airtight container in the refrigerator for up to 1-2 weeks. Be aware that refrigeration will make the chocolate and the bars firmer, so you might want to let them sit at room temperature for 10-15 minutes before serving for optimal texture.
- Freezer: These bars freeze beautifully! Wrap individual bars tightly in plastic wrap, then place them in a freezer-safe bag or container. They can be frozen for up to 2-3 months. Thaw them at room temperature for about 30 minutes before enjoying.
Whether you're looking for a quick after-school snack, a delightful addition to your party spread, or just a little something sweet to get you through the afternoon, this no bake chocolate cereal bars recipe delivers. They're incredibly versatile, satisfyingly delicious, and wonderfully easy to make. Give your oven a day off and treat yourself to these irresistible chocolatey, crunchy delights.
And for those who simply can't get enough of these incredible treats, be sure to check out our comprehensive guide in no bake chocolate cereal bars recipe - Article 3 for more inspiration and tips.
